Advanced GoHighLevel Custom API Guide
Connecting Go High Level to thanks.io is possible using POST methods in the thanks.io API, without needing Zapier.
Are you looking for Go High Level webhooks? Click here.
Use this method if you do not wish to deploy global blacklists to 'delete' recipients from marketing campaigns, but would rather control them on a per-list basis.
In this example, we'll be using ilist CRM, though any GHL application is basically the same.
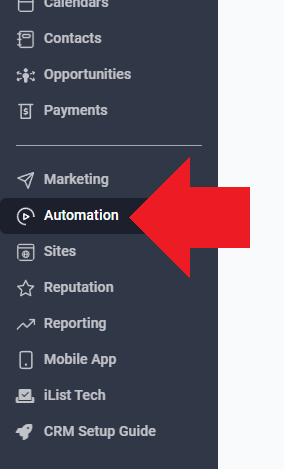
Step 1:
In GHL, click on 'Automation' on the left.
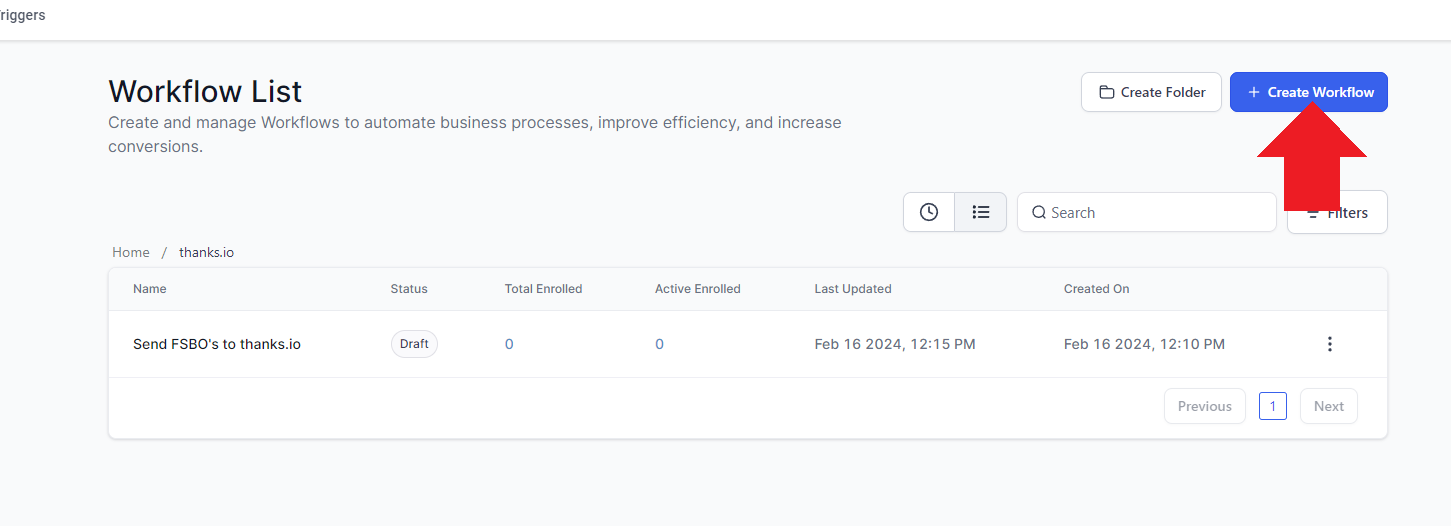
Step 2:
Navigate to where you want to save or organize your thanks.io automations. In this example, I created a folder called 'thanks.io.' Click on the blue 'Create Workflow' button at the upper right.
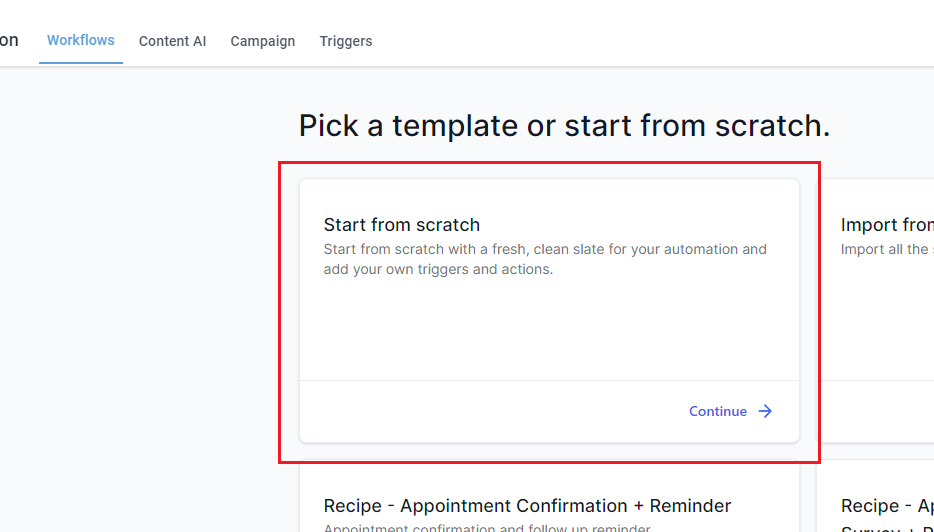
Step 3:
Select the first option, start from scratch.
Step 4:
First thing's first! Name your workflow!
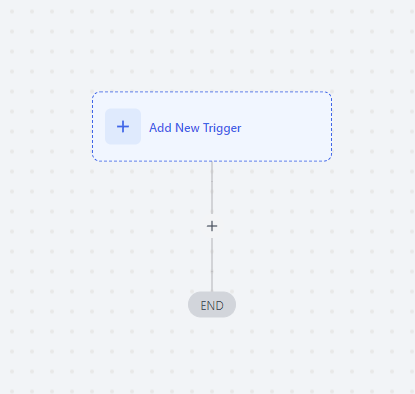
Step 5:
Click Add New Trigger. This will determine how your automation begins from inside GHL.
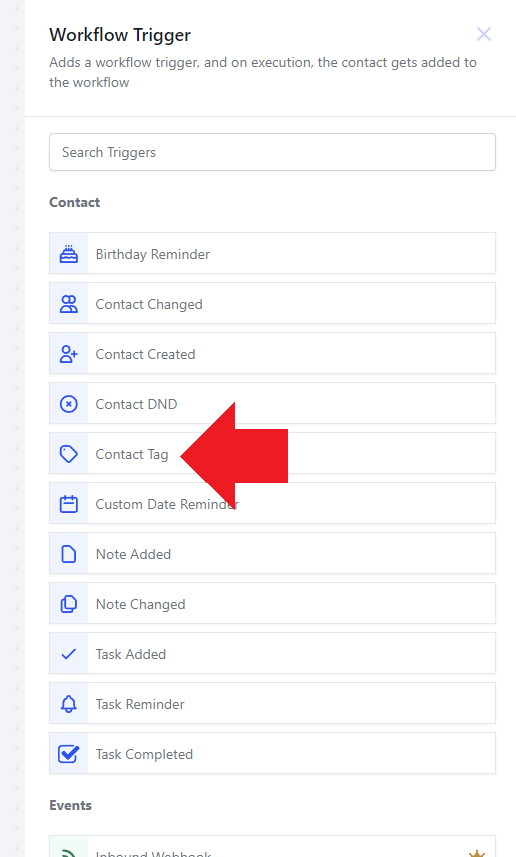
Step 6:
There are lots of options for triggering an automation. Two of the most common are Contact Tag and Opportunity Changed. For this example, we are using a contact tag.
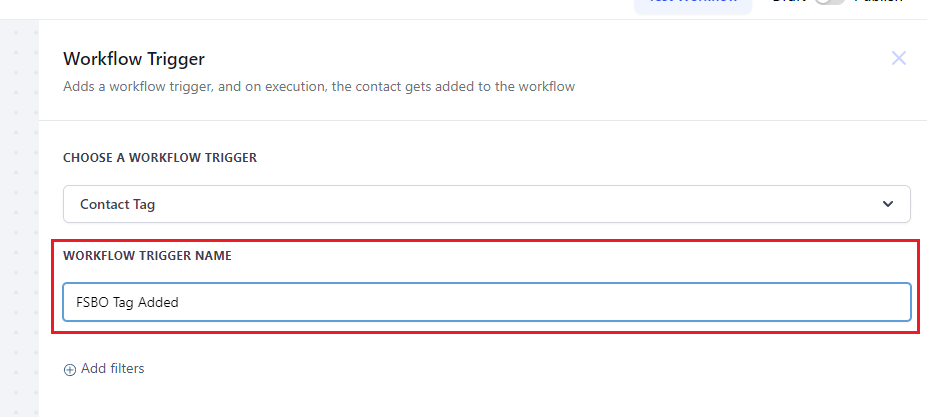
Step 7:
First thing's first! Name your trigger!
Step 8:
Click on the small + Add Filters icon to add a new 'Tag Added' filter, selecting the tag that this workflow should be limited to.
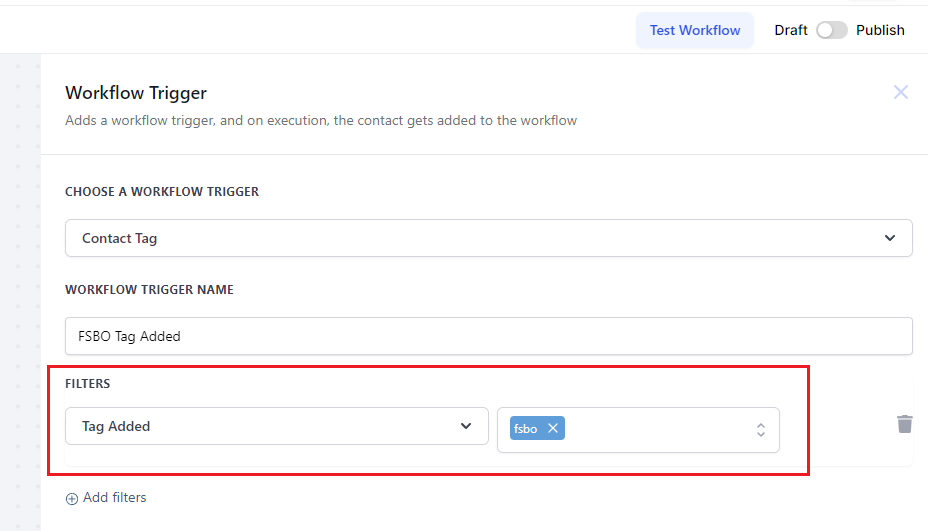
Step 9:
Save it!

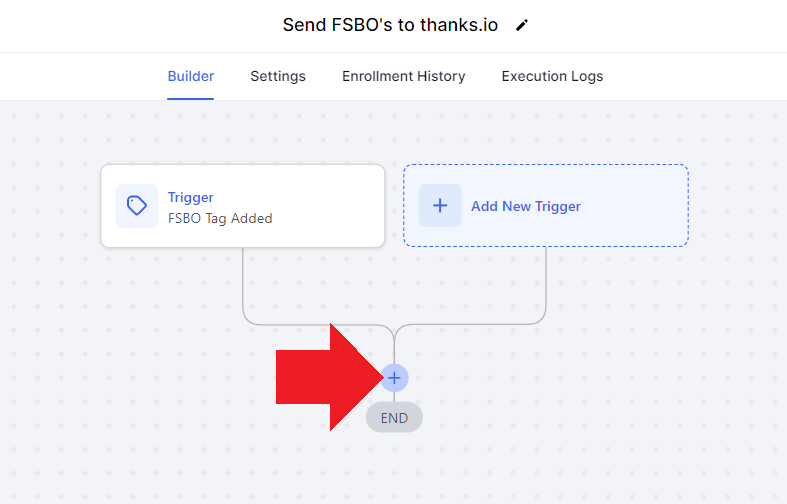
Step 10:
Now, under your newly created trigger, click the + icon underneath to add an action.
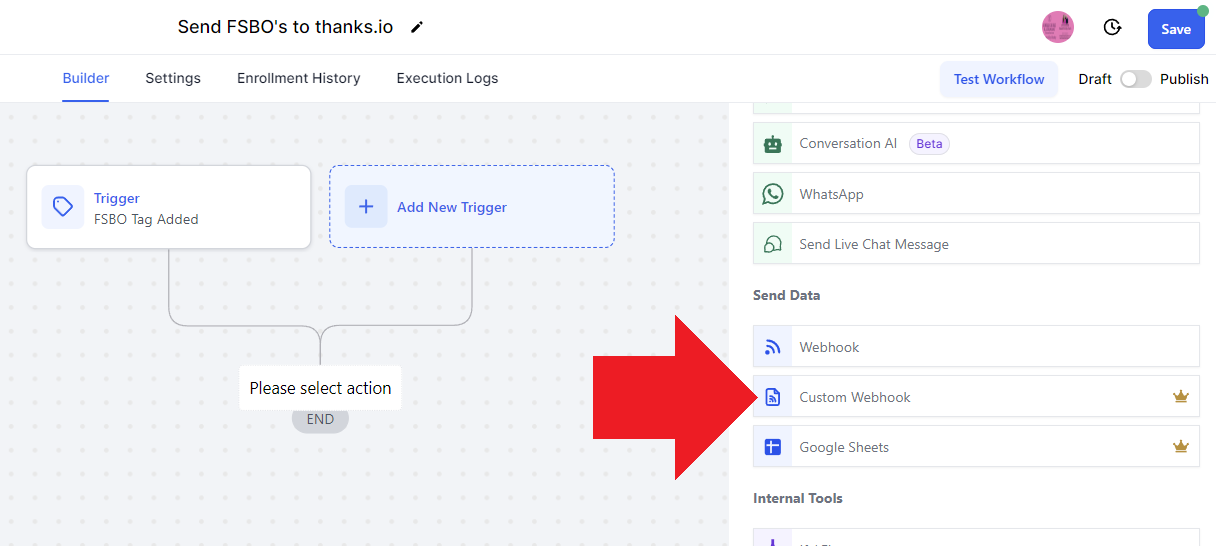
Step 11:
In the right panel, find 'Custom Webhook' and click it.
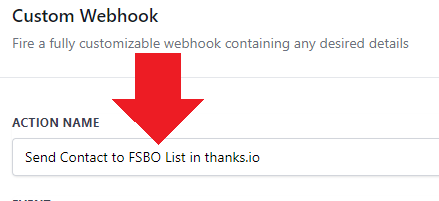
Step 12:
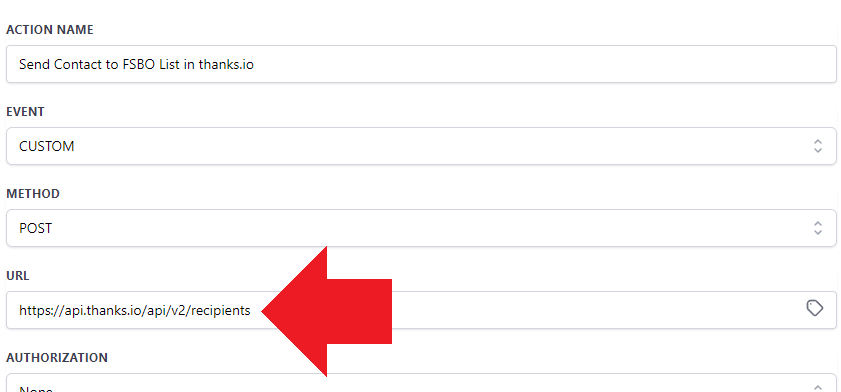
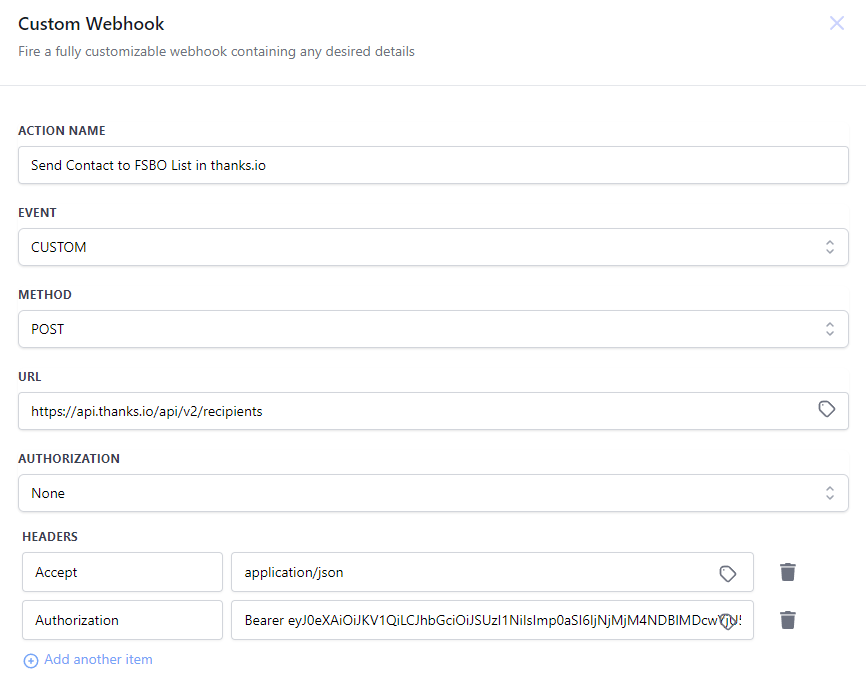
First thing's first! NAME YOUR ACTION.
Step 13:
The event will say CUSTOM, and the method will say POST. The next field is URL. We will get this URL from the thanks.io API docs.
In a new tab, open thanks.io/api.
Here is where you can choose any of the 'POST' actions available in our API to send a request from GHL to thanks.io. There are quite a lot of options! By and large, you'll be doing just two kinds of automations: Creating Recipients, or Sending.
One of the most common things we see here at thanks, has to do with onboarding new clients from a CRM to a Direct Mail campaign. And, that typically entails sending a thank you card, and a birthday card every year.
The easiest way to pull this off, is to have a 'Clients' list in thanks.io, attached to a thanks.io birthday campaign, and a 1 Day After Added thank you card campaign. When you send a contact from your CRM with their DOB to this clients list, it executes both campaigns automatically at the right time, so your thank you card is sent ASAP, and the birthday card is sent 10 days in advance of their birthday entirely automatically. To do this in GHL without thanks.io, you would need to schedule two separate automations instead of one.
2 birds, 1 boulder.
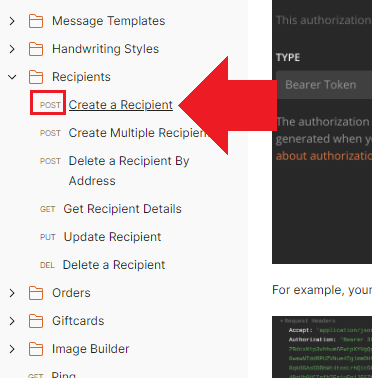
In this example, we will be adding the contact to our FSBO Mailing List in thanks.io, so we'll pick the 'Create a Recipient' POST action.
Expand the recipients menu item on the left, and click 'Create a Recipient.'
We'll need a few pieces from this page to paste into our custom webhook in GHL, and we'll start with the POST URL.
Copy it.
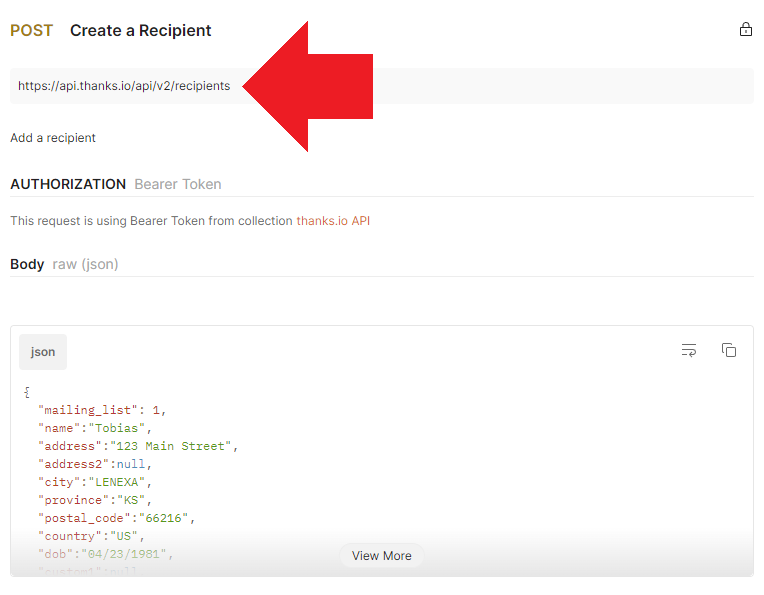
Then, paste it into the URL field in your Custom Webhook in GHL.
Step 14:
In a new tab, open the thanks.io API Access Page. Navigate to dashboard.thanks.io, and click the gear at the top right to get there.
On the API Access page, create a new Personal Access Token by clicking the + at the top right of the section.
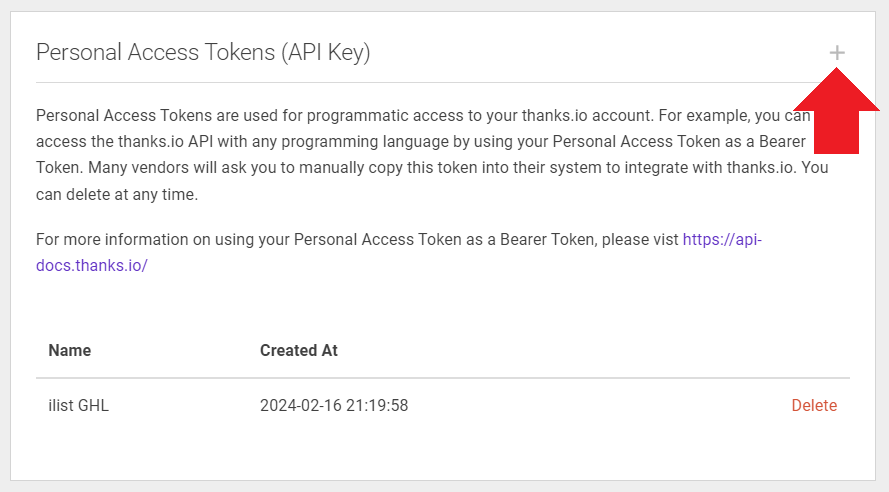
You'll first be prompted to name your key, then the key will be displayed. You must copy it and save it on the side, but don't share it. We will need it shortly. Once you generate a key, you will not be able to see it again! If you mess up, it's no trouble, just delete your old token and create a new one.
Step 15:
Navigate back to your custom webhook. Under the URL, you will see AUTHORIZATION, which should be set to 'None.'
Under HEADERS, click the +Add Another Item link.
In the Key, enter the word Accept.
In the Value, enter application/json.
Click the +Add Another Item link again.
In the Key, enter the word Authorization.
In the Value, enter the word Bearer. Then, add a space. Then, paste your API Key from thanks.io.
If there is no space between Bearer and your api key, it will not work.
Your Custom Webhook should now look like this. Note that the capitalization of these variables DOES MATTER.
Step 16:
Next, you should copy the example body from the thanks.io API page and paste it into the RAW BODY of the Custom Webhook.
In the thanks.io API docs, find the request body that you want to POST, and copy it. You can click 'View More' to see the whole thing.
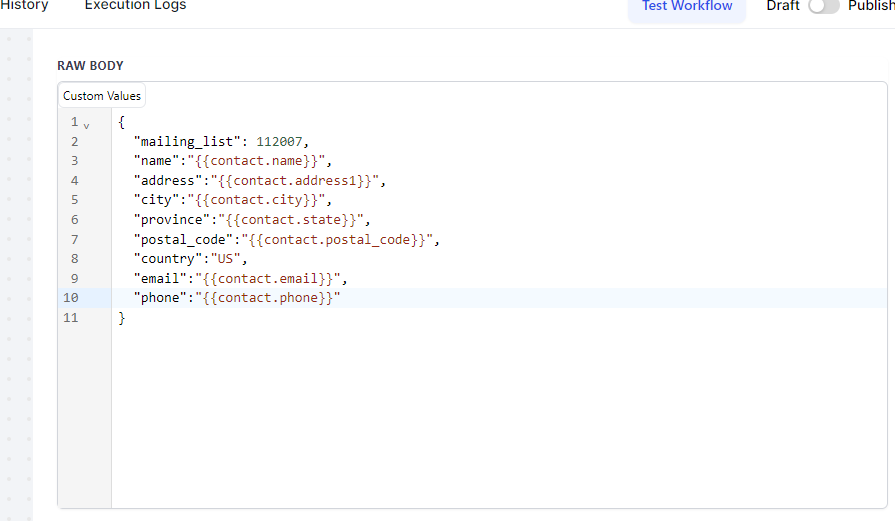
Then, paste it into the RAW BODY in your Custom Webhook:
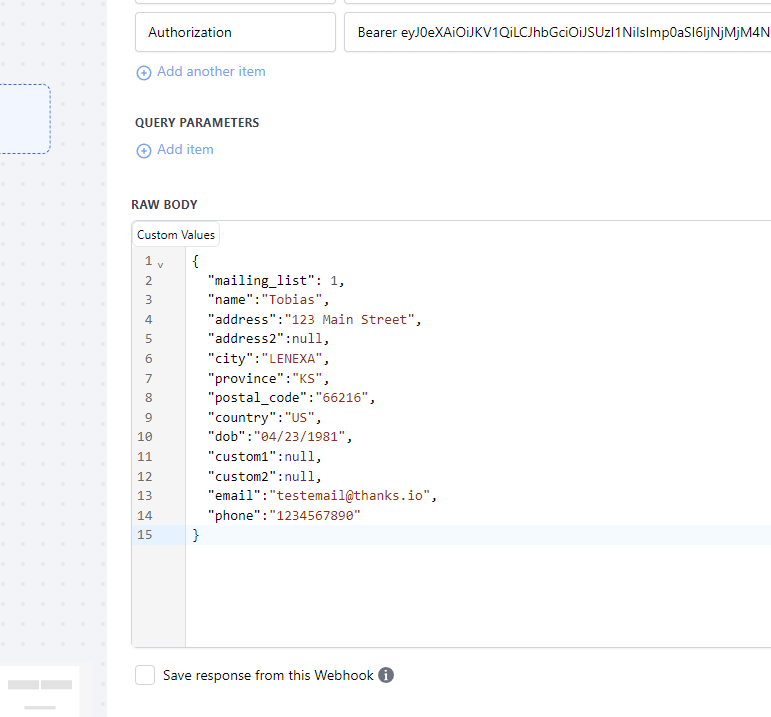
PLEASE NOTE: The syntax here is extremely finnicky.
The smallest mistake will result in an error that may be difficult to spot if this type of computing is new to you. Notice that some of the variables are surrounded by quotes. Each key/value pair is followed by a comma, except for the last one. As you continue with your modifications, pay close attention to these details so that the syntax remains correct.
Step 17:
Adding a contact to a mailing list requires the mailing list ID, which is found on dashboard.thanks.io/mailing_lists. Create or open your list, and grab the ID from the URL at the top.
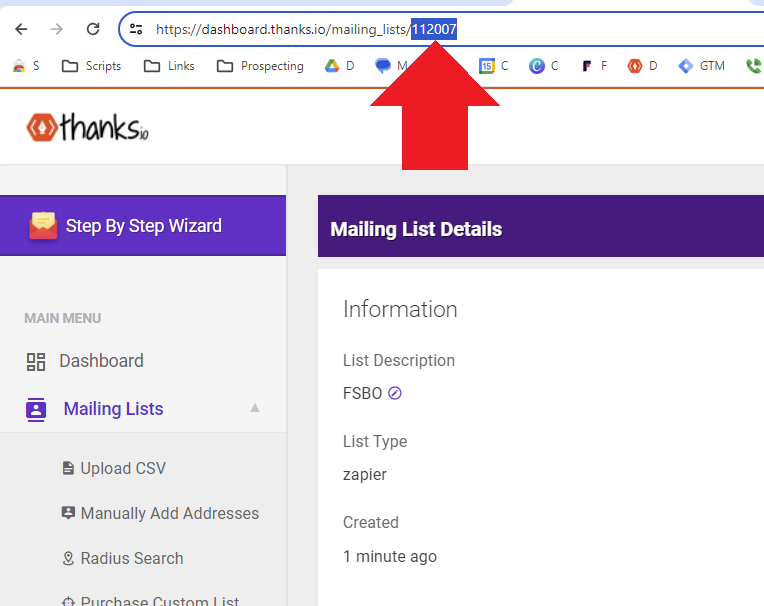
Enter the ID into the appropriate place in the RAW BODY in your Custom Webhook.
You'll also need to swap out all of the variables in the request. The best way to do this, is to delete the original variable, including the quotes, and use the built-in editor to inject the variable from your contacts automatically. Delete the variable, then click 'Custom Values' at the top left to find the right ones, like this:
Depending on your goals, you may not need all variables, but you need to use a name, address1, city, state, and zip and country code for a successful POST.
Note: If you utilize an address line 2, you should configure your GHL to leverage that as a separate custom variable. You CAN put both line 1 and line 2 into thanks.io when adding a recipient with address1 ONLY, however if you want to delete that recipient via GHL in the future, you need to specify line 2 specifically for it to run without an error.
Step 18:
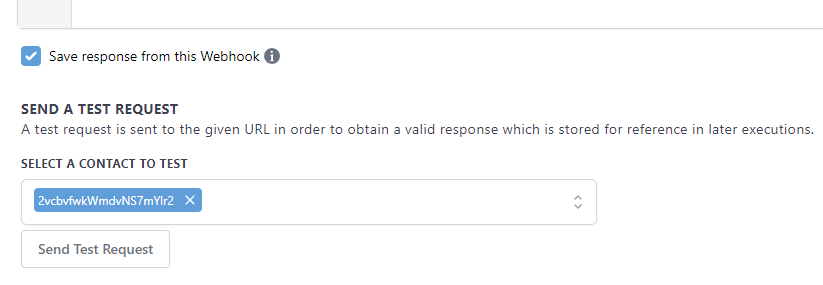
Now, click the checkbox that says Save response from webhook (i). This will allow you to test your webhook using a real contact in your GHL. Pick a contact, and click Send Test Request.
If all goes well with your Test Request, you will see a '200' success message.

If there is an error here, there is something wrong with one of the fields above. It could be the API Key, the RAW BODY, anything. Most common errors come from incorrect spacing or casing. missing comma, and duplicate or missing quotes.
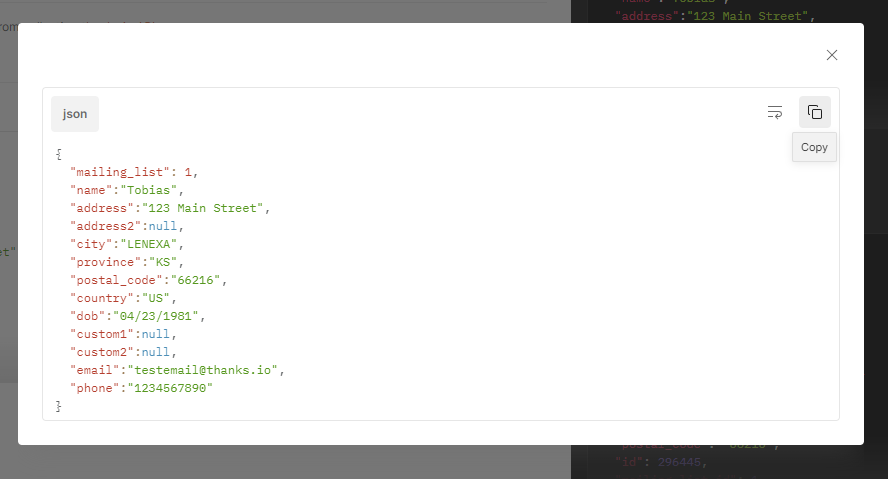
Scroll down, to see the response from thanks.io:
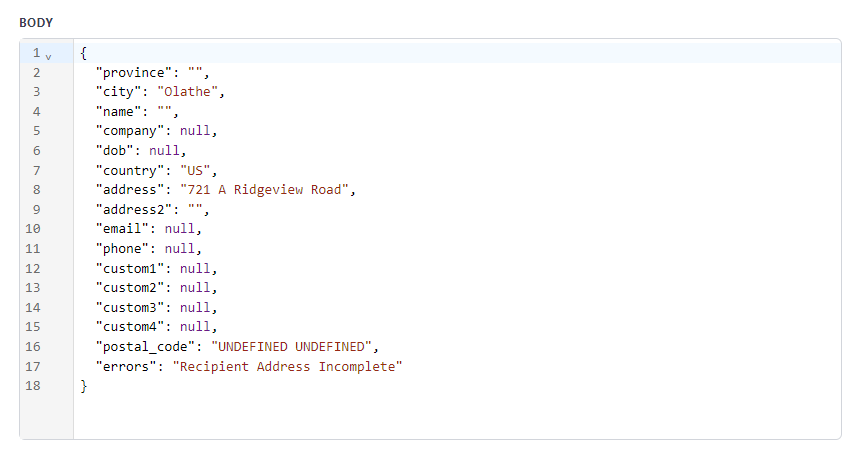
The response body shows you what was submitted to thanks. You'll see in this instance, there is an error: "Recipient Address Incomplete" which is valid. There is no State OR Postal Code in this contact that we used to test with. But, that being said, we can save this knowing that our request to thanks.io was successful with the '200' response code shown in the green note above.
Click save on your last edit and also save the workflow when you see the option at the top right.
Congrats! You did it!
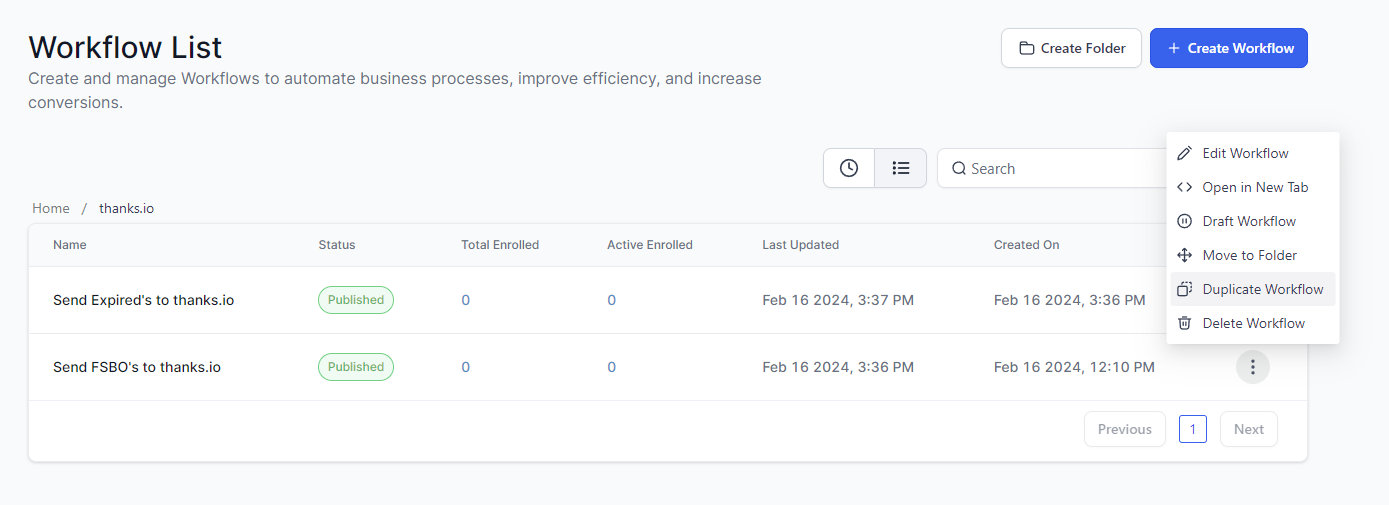
You can easily duplicate this automation in GHL to send more tags to different lists! Just swap out the variables and names that pertain to the new tags.