
Webhook Add-to-List : Add Recipients to a Mailing List via thanks.io Webhook
Begin by opening or creating a Mailing List.
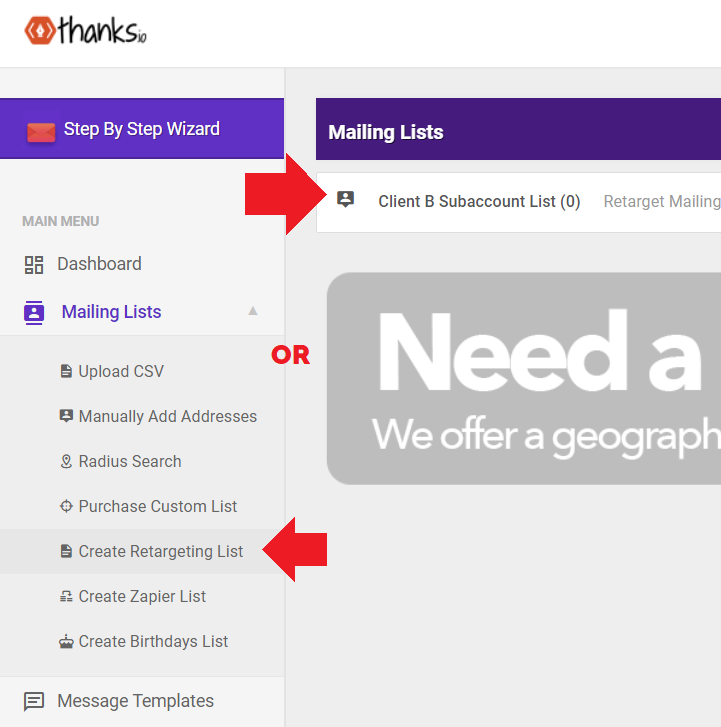
On the left, scroll down until you see the Recipient Add Webhook box.
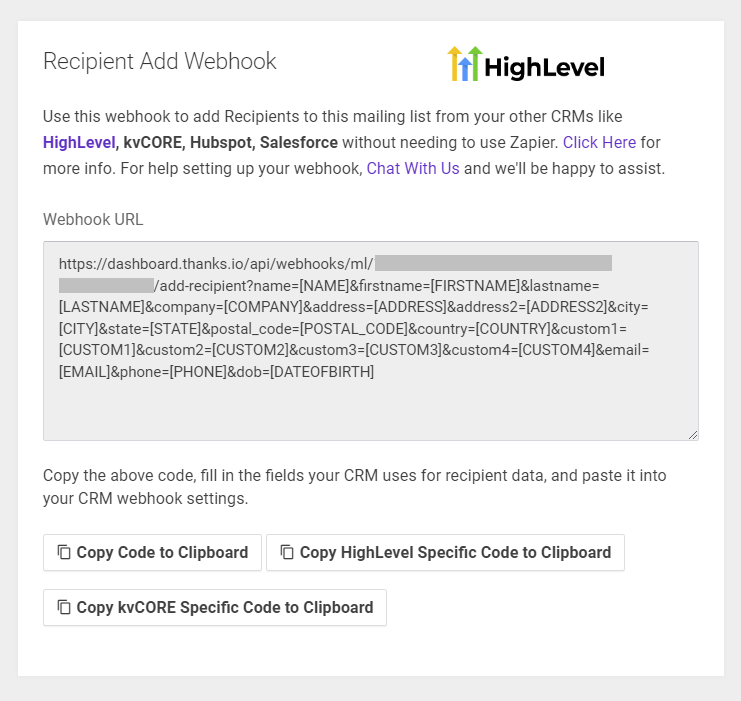
A webhook is a very simple way to send data. Many CRM's offer webhook functionality. GoHighLevel and kvCORE webhooks are pre-formatted and can be used without modification.
How Does It Work?
If you review the URL in the grey box, you can technically visit that URL in your browser when you replace the bracketed data like "[NAME]" with "John" and it will add that data to your mailing list.
So, to customize it for your CRM is pretty straigtforward.
Each variable after the question mark (?) has a key : value format. Key, is the slot in thanks.io that the data goes into, and the value is the data that goes in.
In the URL it's:
key=value
Each subsequent variable is preceded by an ampersand "&"
name=value&company=value&address1=value etc.
Your individual CRM will have different options for how they expect you to enter what data you want to go where. In some cases, your CRM has a unique format for a variable, such as ~VALUE~ or {VALUE}. In some cases, they provide an interface for you to name each key and select the corresponding value.
All the keys shown in the grey box are correct for thanks.io, just copy them. Some keys are redundant, such as Name, First Name, and Last Name. Choose either or. If you run into trouble, check if you are supplying duplicate information.