How To Create A New Message Template
If you plan on using Campaigns or if you intend to send the same kind of message repeatedly, then creating a message template is essential. Message templates comprise about half of a mailer's content and focus primarily on the handwritten portion of the mail and QR code where applicable.
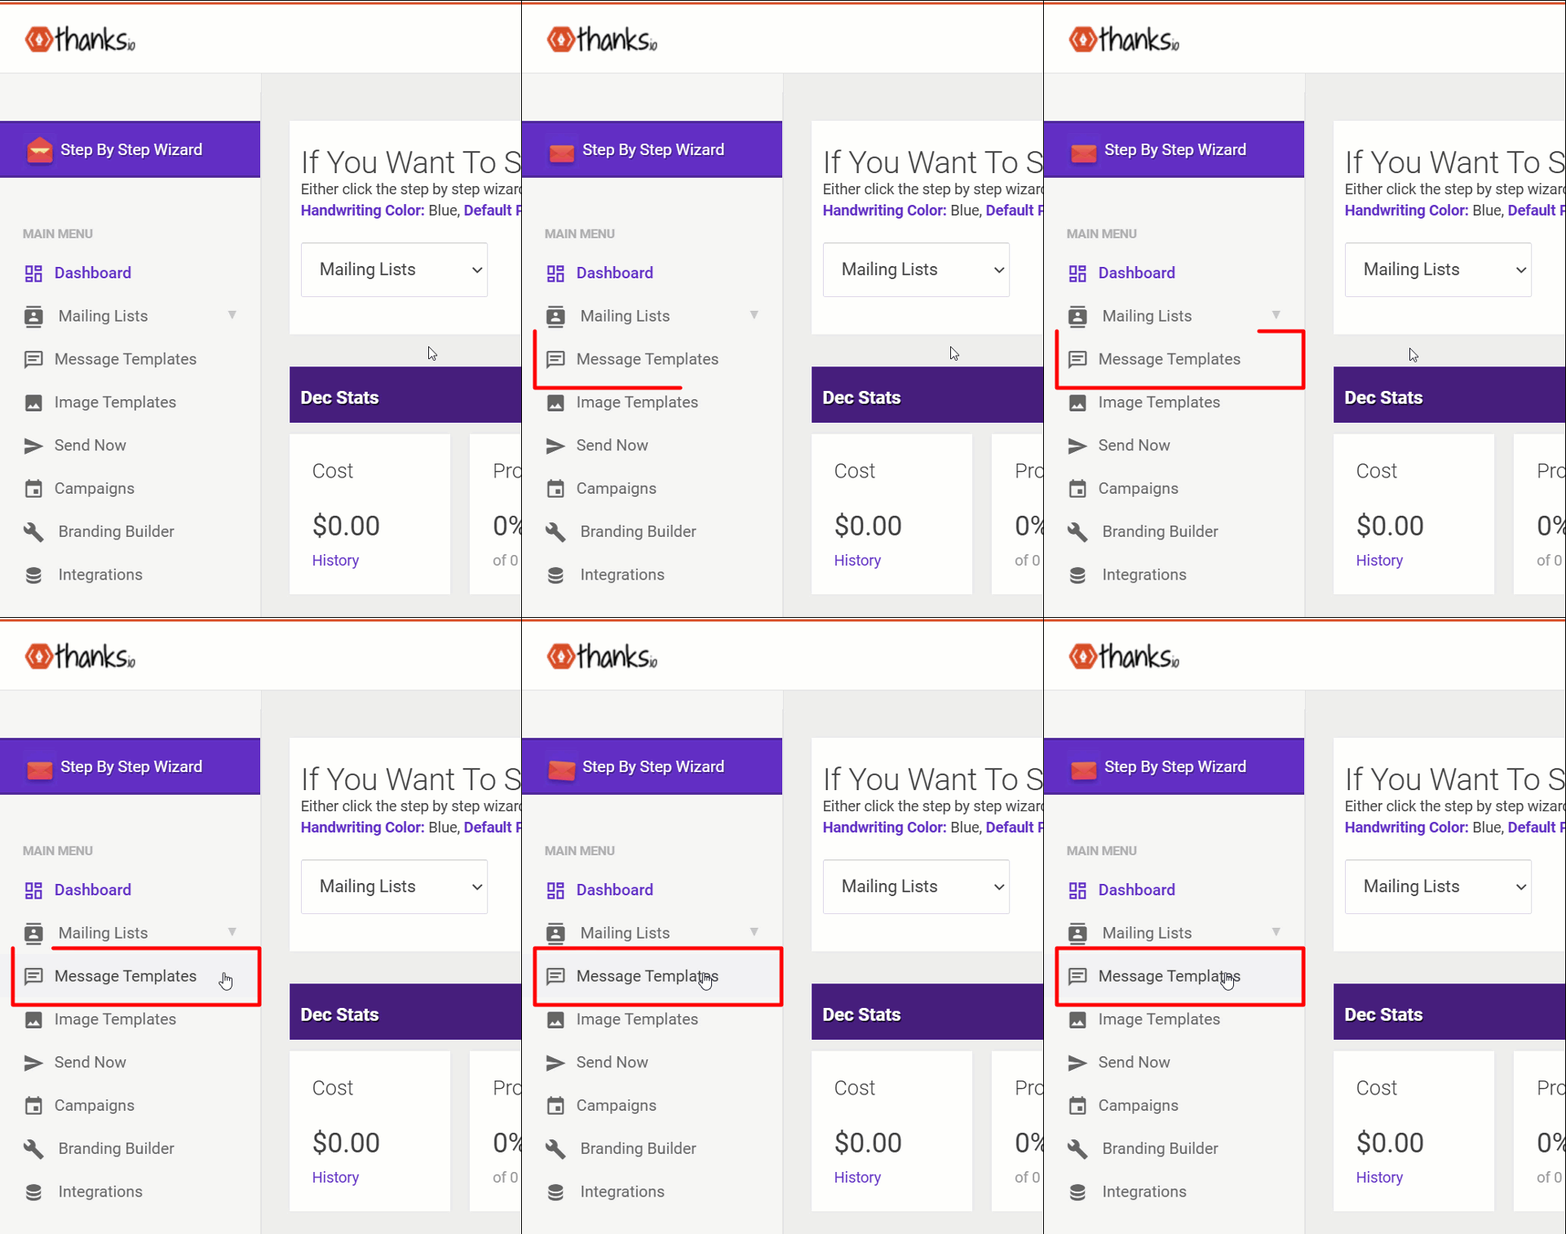
On your thanks.io dashboard, Click on 'Message Templates' on the left:
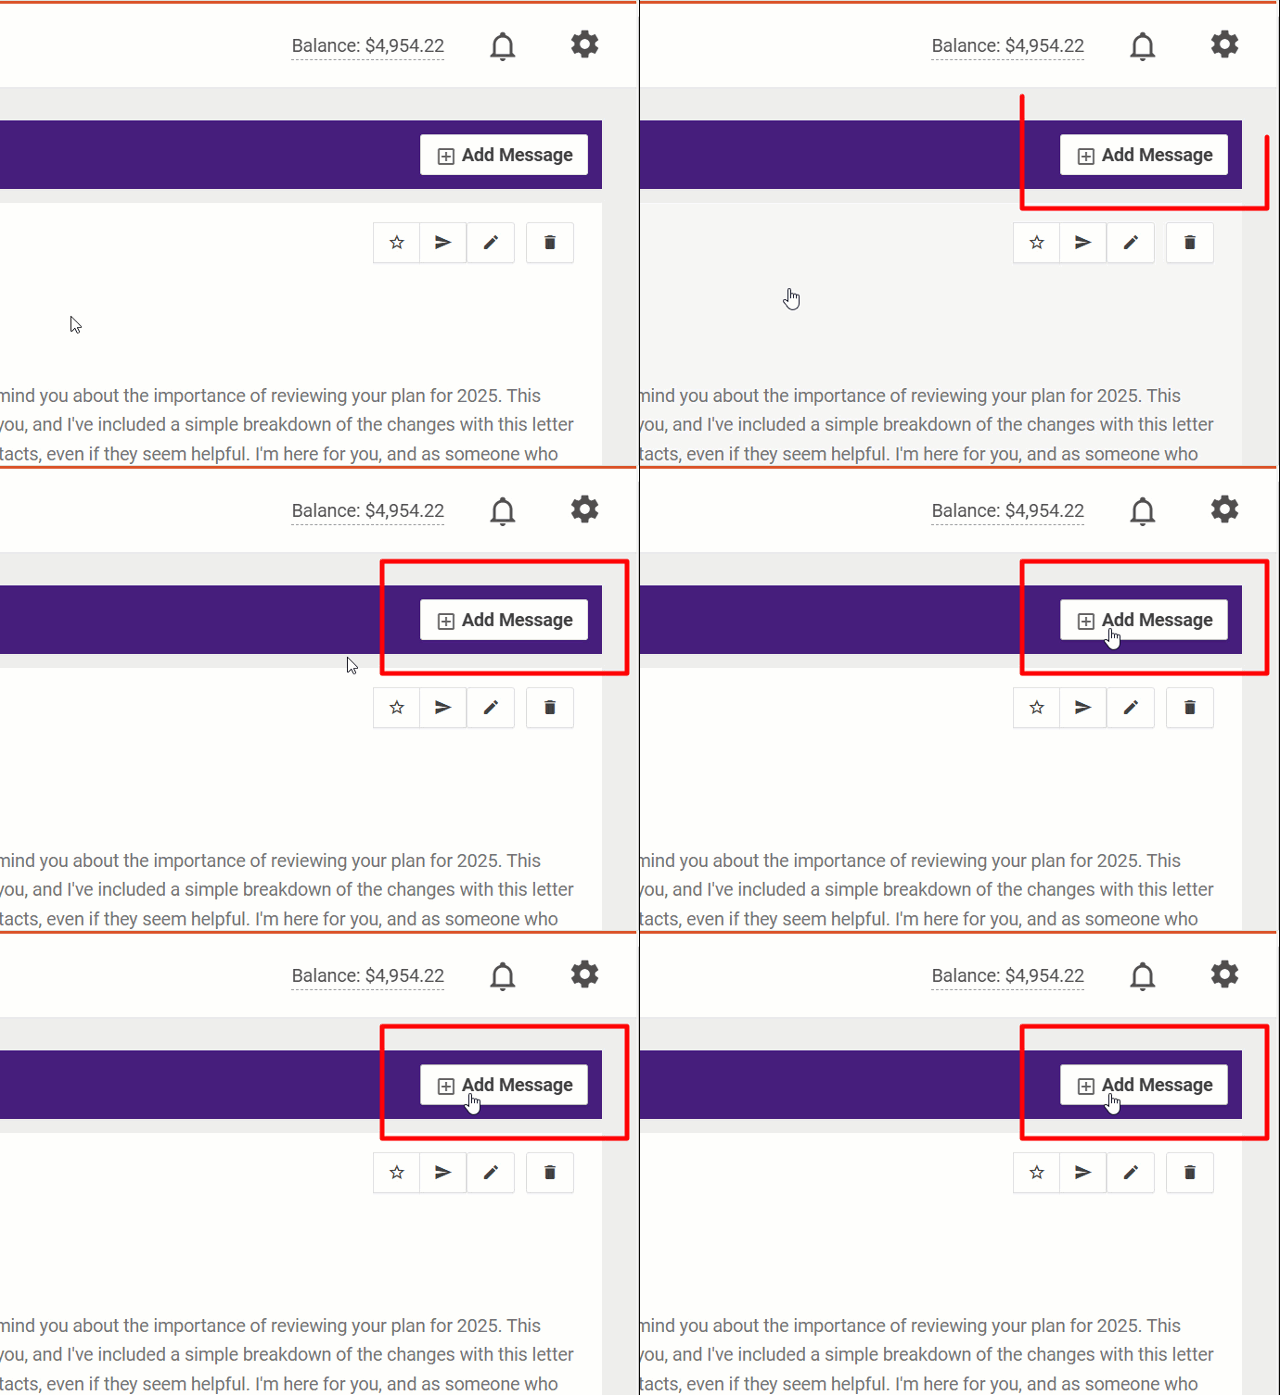
Click on 'Add Message' at the top right:
Message Type
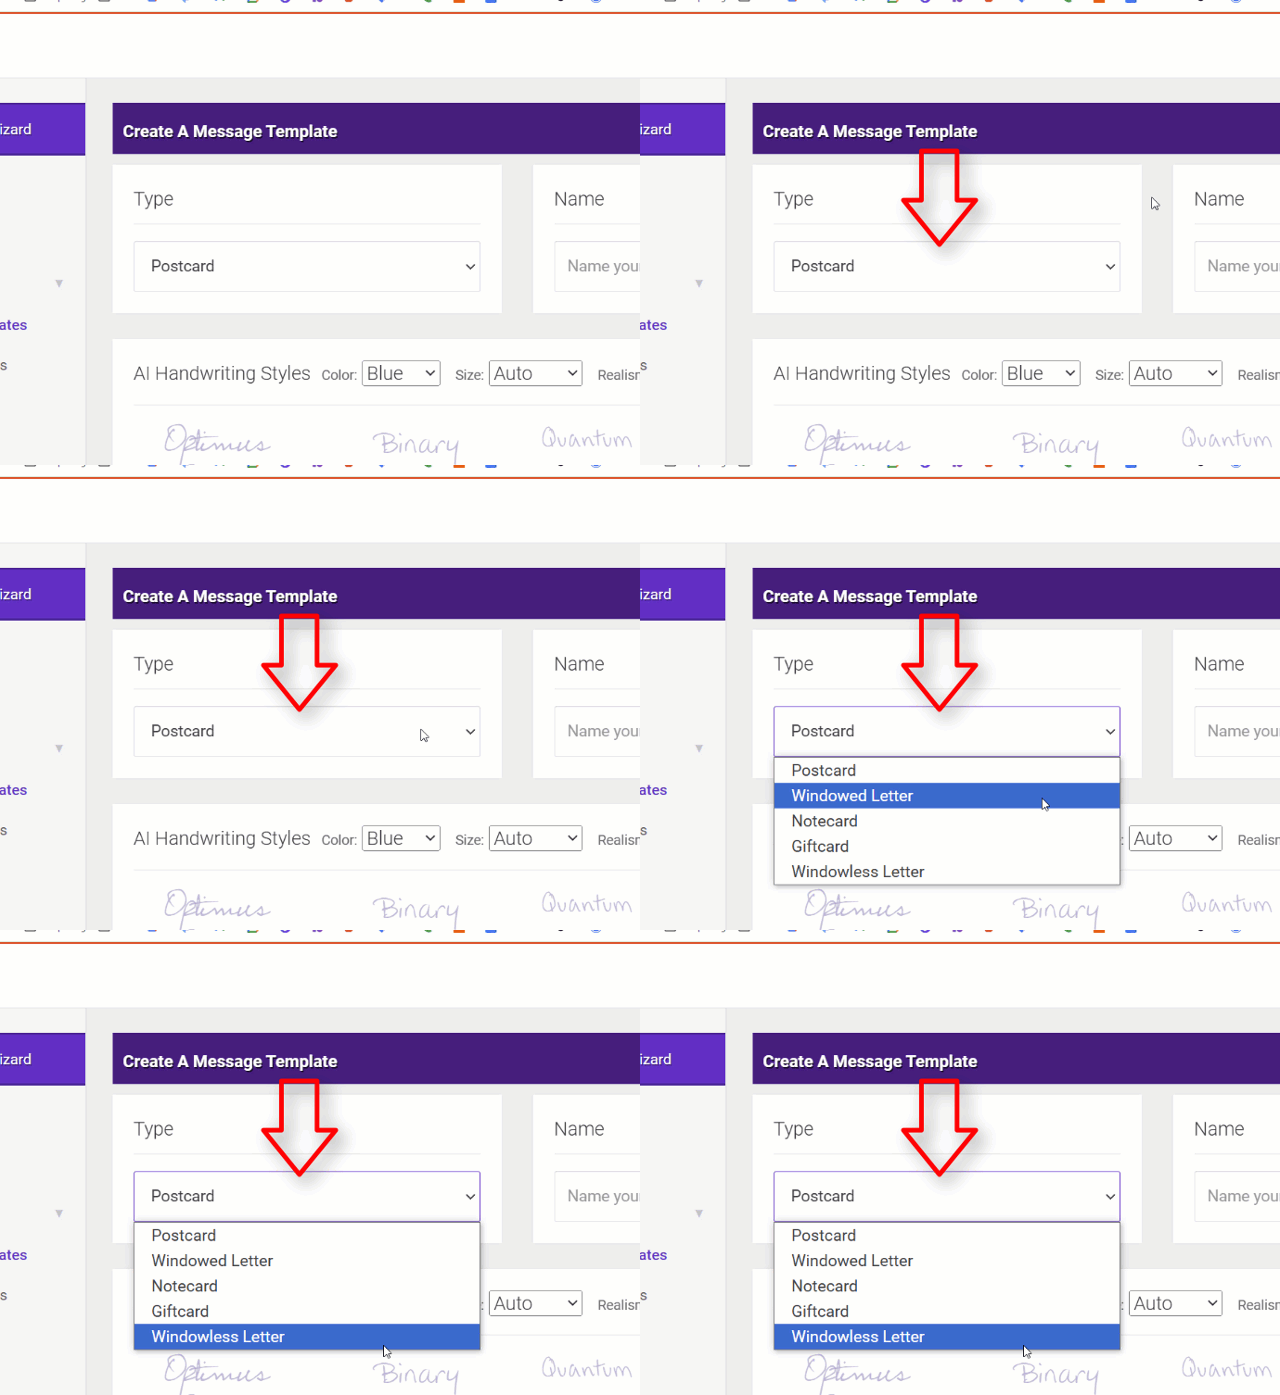
It's recommended to begin by specifying which kind of mailer you are creating a message template for.
Message templates have different settings based on the type selected:
Postcard - The Handwriting, Design, and QR code on the 'Back' of a Postcard (both 4x6 & 6x9); the side that has the Postage.
Windowed + Windowless Letters - The Handwriting and QR code for the First Page Windowed and Windowless Letters. Subsequent pages can be provided with a PDF Attachment. Think of it like a cover letter, that you can attach a PDF to. The design of letterheads is saved elsewhere, in Image Templates.
Notecard - The Handwriting, QR Code, and Design on the 'Interior' of a Notecard.
Giftcard - The Handwriting, Gift Card Selections, and Giftcard Gating options for the 'Interior' of the Giftcard. The design of the interior of a Giftcard cannot be customized.
Then, select the type from the section at the upper left.
Message Template Name
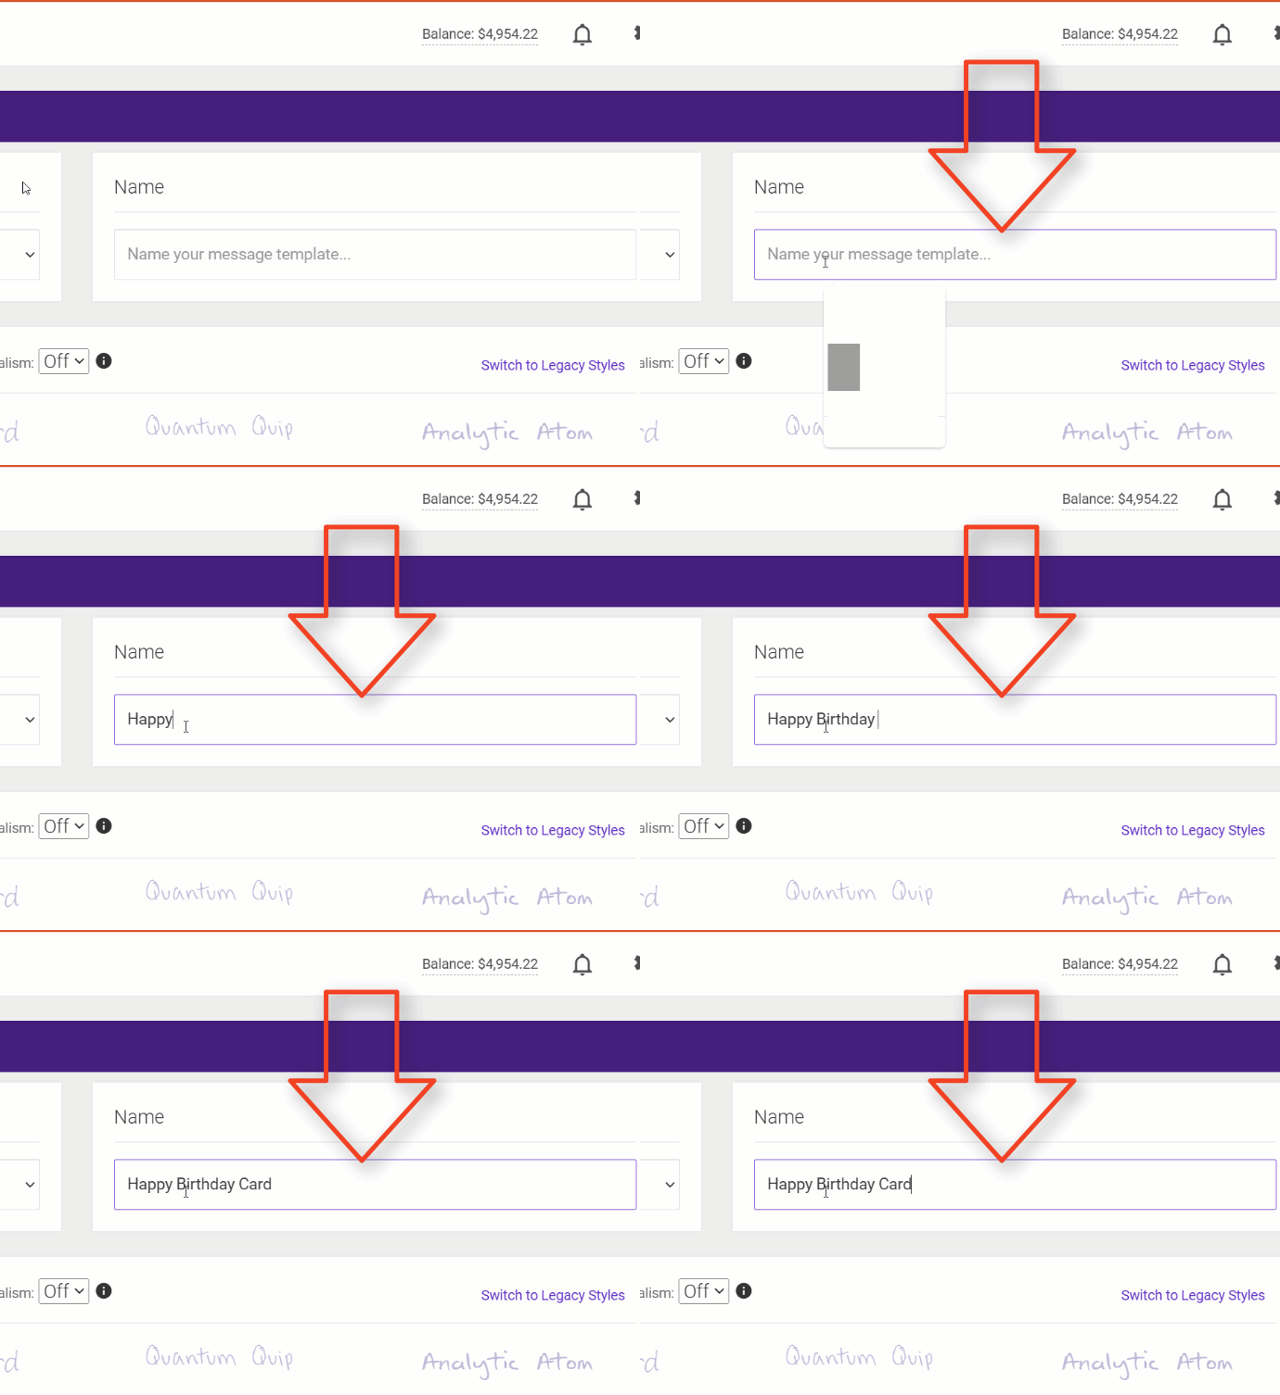
Message Template Names are selectable in other menus, and visible in Campaigns/Zapier in/via thanks.io, so give it one that makes sense.
Give it a good name at the upper right.
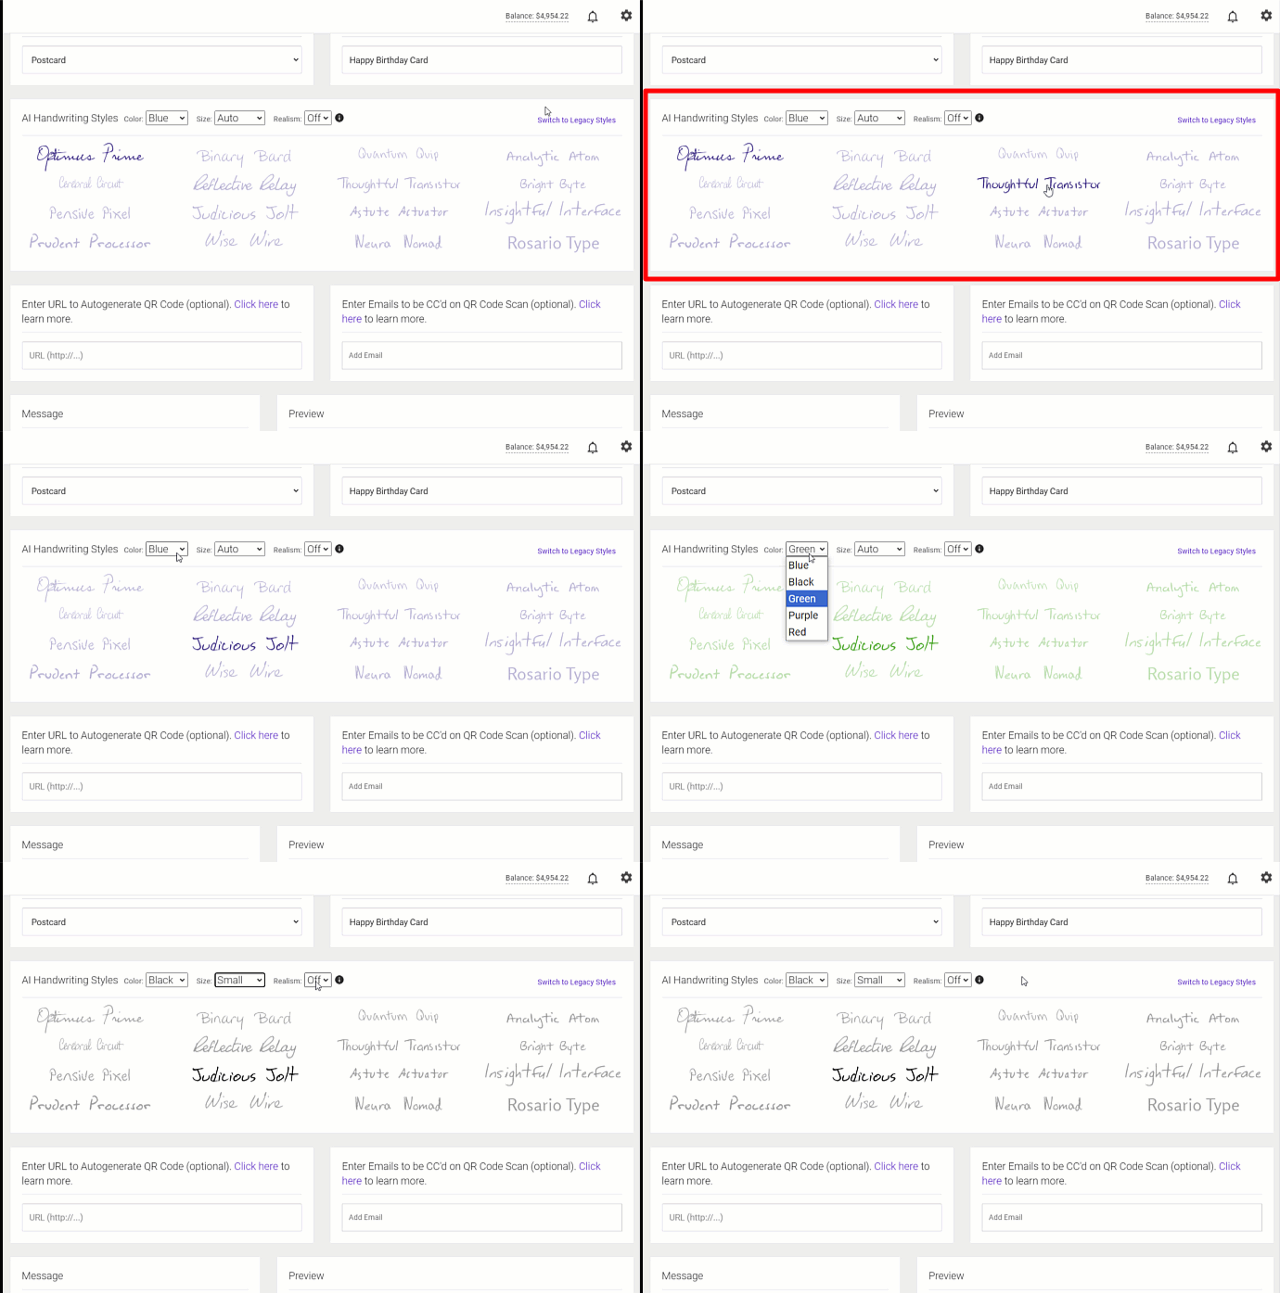
AI Handwriting Styles
These AI Styles mimic real handwriting by writing each character differently. Pick a style that best resembles yours.
note You can change the color of the ink, play with the sizing options, and the 'realism' switch that might add random mistakes with strikethroughs if desired.
Just below, where you enter your name, pick a Handwriting Style.
QR Codes
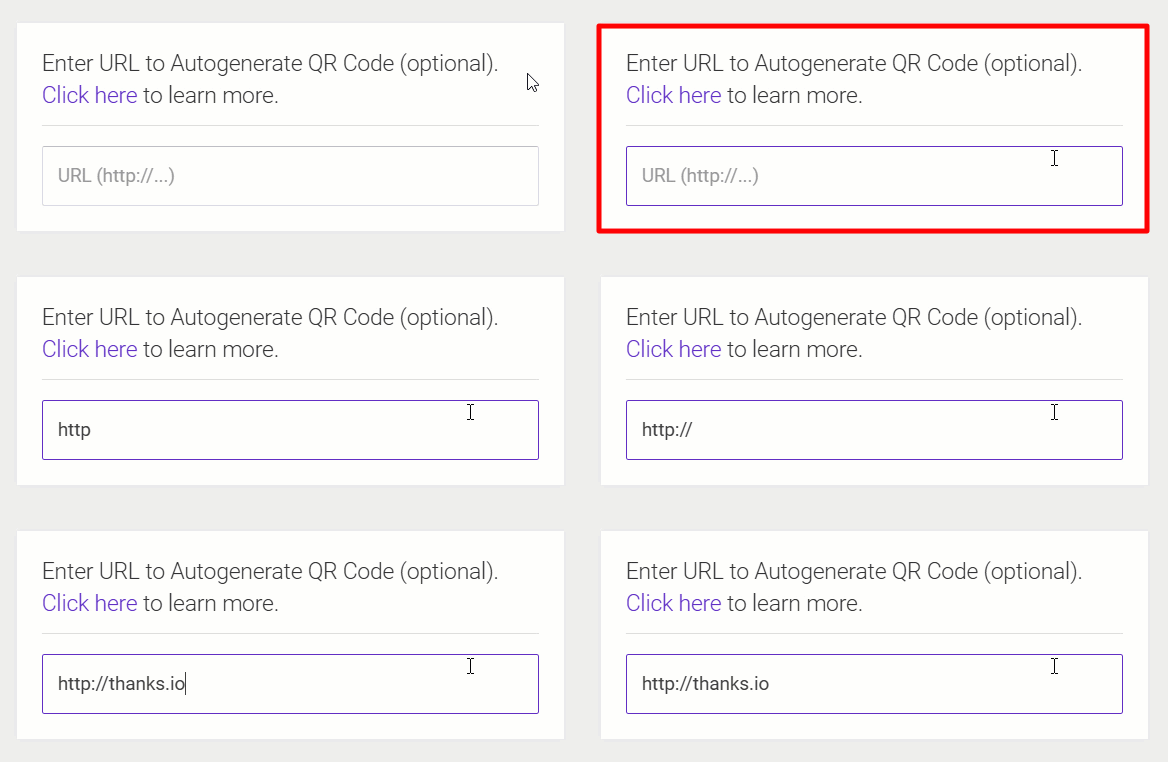
You can provide the URL you want, and thanks.io will Automatically add a unique QR code for each mailer sent. When scanned, by default, you're notified by email which card was scanned, and you have the option to trigger a Zap,
Under the handwriting styles, you can set a QR URL (except for gift cards.)
note: You can use variables in the QR URL. Just replace the % with a tilde ~. e.g. https://myurl.com/code/~CUSTOM1~
Message Content
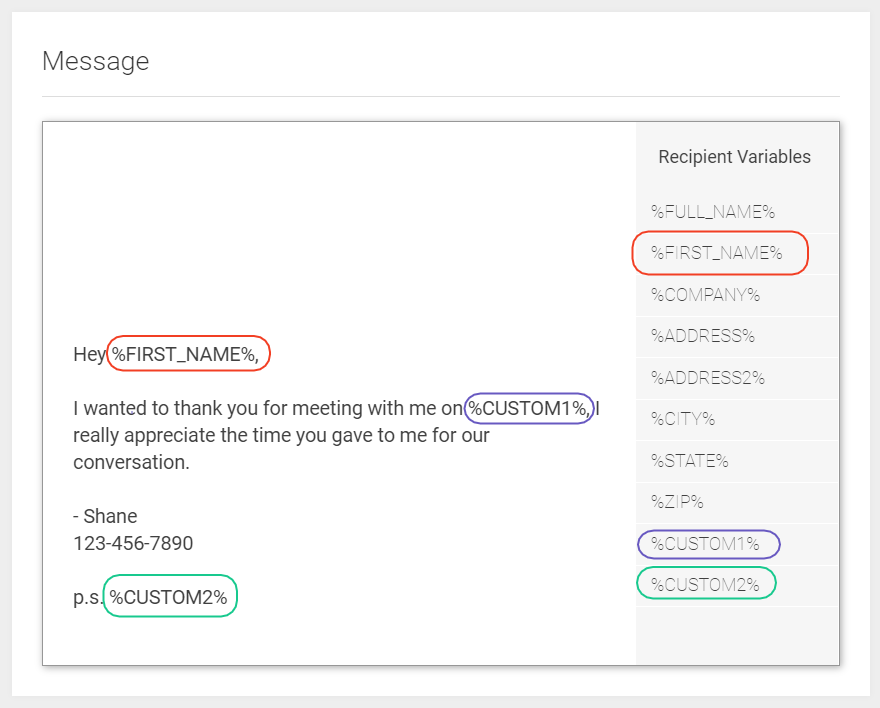
Scroll Down to the 'Message' section where you can compose a new message. Click on any of the 'Recipient Variables' in the gray column at the right to add them to the message body.
Recipient variables come from the information you add to a mailing list or recipient information. You include them in your CSV upload or when manually adding recipients to a mailing list.
Note on message spacing:
See the extra lines above the text entered into the sample just above? You can use this method to move your handwritten content around the page. You can add extra lines above or below your text to shrink the size or position it around elements you have designed. This is useful for letters where maybe you want to add a handwritten note to a formal letter you designed in Canva for added effect. The best way to do this is by designing your mailer in Canva, then using our wizard to load the image template and then position your text exactly when you get to the message step.
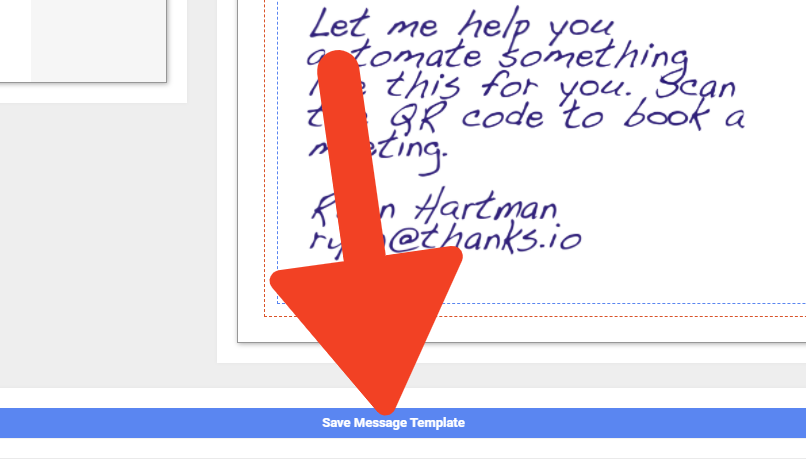
Finally, save your template at the bottom.

