
Create Subaccounts
Subaccounts are a way to segment your thanks.io into multiple brands, teams, offices, etc.
These subaccounts are useful when you want to use different return addresses + names. Additionally, it separates image templates, message templates, campaigns, and billing history.
Billing Note: Even though transaction history is separated out, currently it's only possible to utilize one payment method in thanks.io. So, for example if you wanted to add multiple teams to your account and handle the billing separately, you would need to invoice those teams on your end.
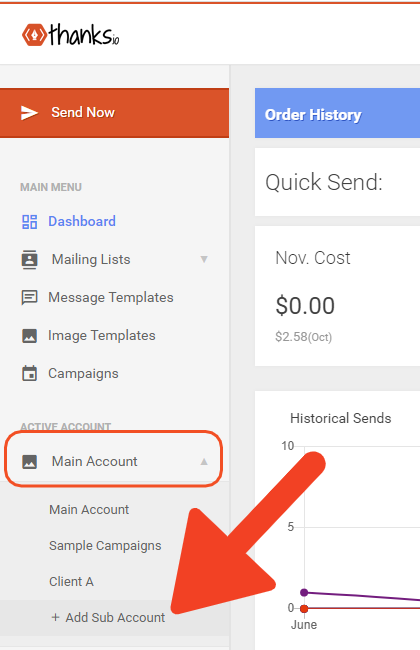
There are two methods to create subaccounts. First, you can easily switch between or add subaccounts from the left hand menu.
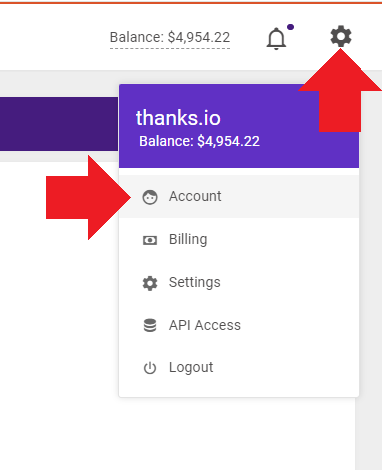
Or, by accessing your account settings, you can view all of your subaccounts and add new ones there, beneath the return address setting:
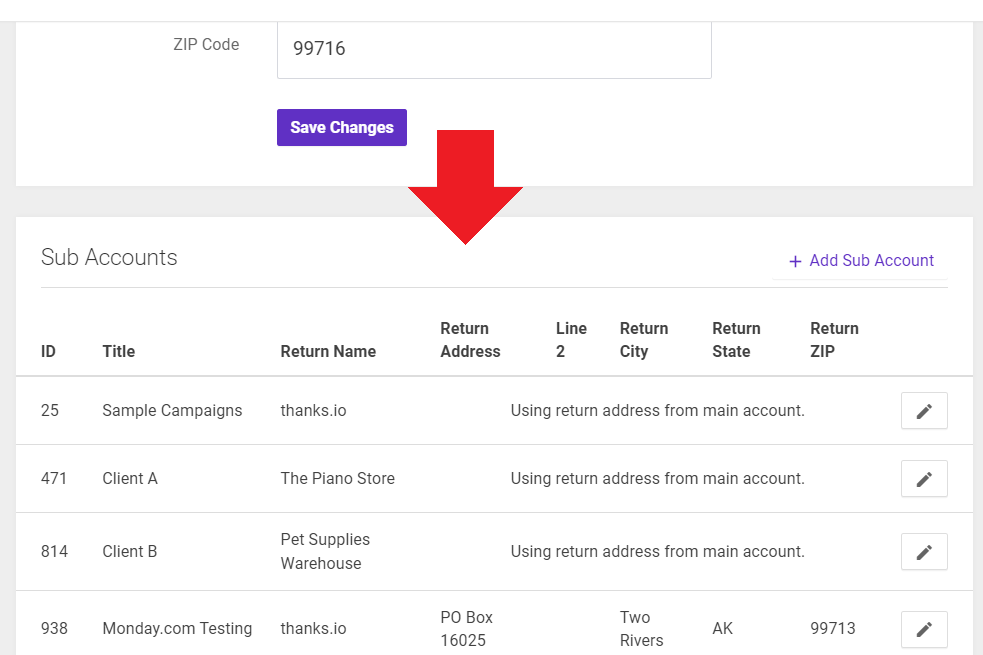
When adding a subaccount, you only need to enter a title and a name. The title is used in your left hand navigation, and the name is the Return Name for the postage.
You can leave the return address blank, and the return address set in the main account settings will be used by default.
Resources like templates and campaigns saved in a subaccount are all visible from the main account, but not editable unless you switch to the subaccount. When viewing content from your main account, you will see which subaccount a resource such as a campaign or template pertains to.
Once a subaccount is added, you can refresh your dashboard to find it in the left, then add your subaccount specific images templates, message templates, campaigns, or even run the branding builder to add subaccount specific branding to it.