Enabling QR Codes
How to enable a QR code
- Go to Message & QR Templates and open or create a template.
- In the QR Code URL field, enter your destination URL:
- Custom URL - any publicly accessible URL (booking page, product page, landing page)
- Default thanks.io landing page - click Use thanks.io Default for the built-in recipient greeting page
- Dynamic URL - use replacement variables in the URL field (e.g.,
https://yoursite.com/welcome?name=~FIRST_NAME~) for per-recipient links
- Click Save.
Tips & best practices
- Use the thanks.io default landing page for campaigns where you don't have a specific URL - it greets the recipient by name automatically.
- For high-intent campaigns, use a custom URL pointing to your booking calendar or product page.
- Always test your QR URL by scanning a preview piece before launching a campaign.
- Combine with Move Recipient on Scan to automate follow-up when someone scans.
Setting a QR code for an entire mailing list
You can set a default QR code URL at the mailing list level. Every recipient on that list will receive that URL as their QR code destination, unless a more specific URL is configured elsewhere.
- Go to Mailing Lists and open the list.
- Scroll down to the Tracking URL section.
- Enter your destination URL in the QR Code URL (optional) field.
- Click Update.
![]()
The Tracking URL section requires a Business plan.
QR code priority order
When multiple QR URLs are set, thanks.io uses the highest-priority one:
| Priority | Where it is set |
|---|---|
| 1 (highest) | Mailing List - Tracking URL |
| 2 | Message Template - QR Code URL field |
| 3 | Zapier / API |
VisitorView retargeting lists and QR URLs
For VisitorView retargeting lists, the Tracking URL section works the same way - set a URL there to override the Message Template's QR destination for everyone on that list.
QR placement on your mailer
Where the QR code appears on the finished piece depends on the mailer type:
| Mailer type | Where QR appears |
|---|---|
| Most mail types (letters, cards, etc.) | Controlled by the Message Template - enter a URL and check the preview to see the position |
| Postcard (front/design side) | Can be added to the design side by using a Dynamic Template |
| Gift Cards | QR codes are not available |
Placing a QR code on the front (design side) of a card
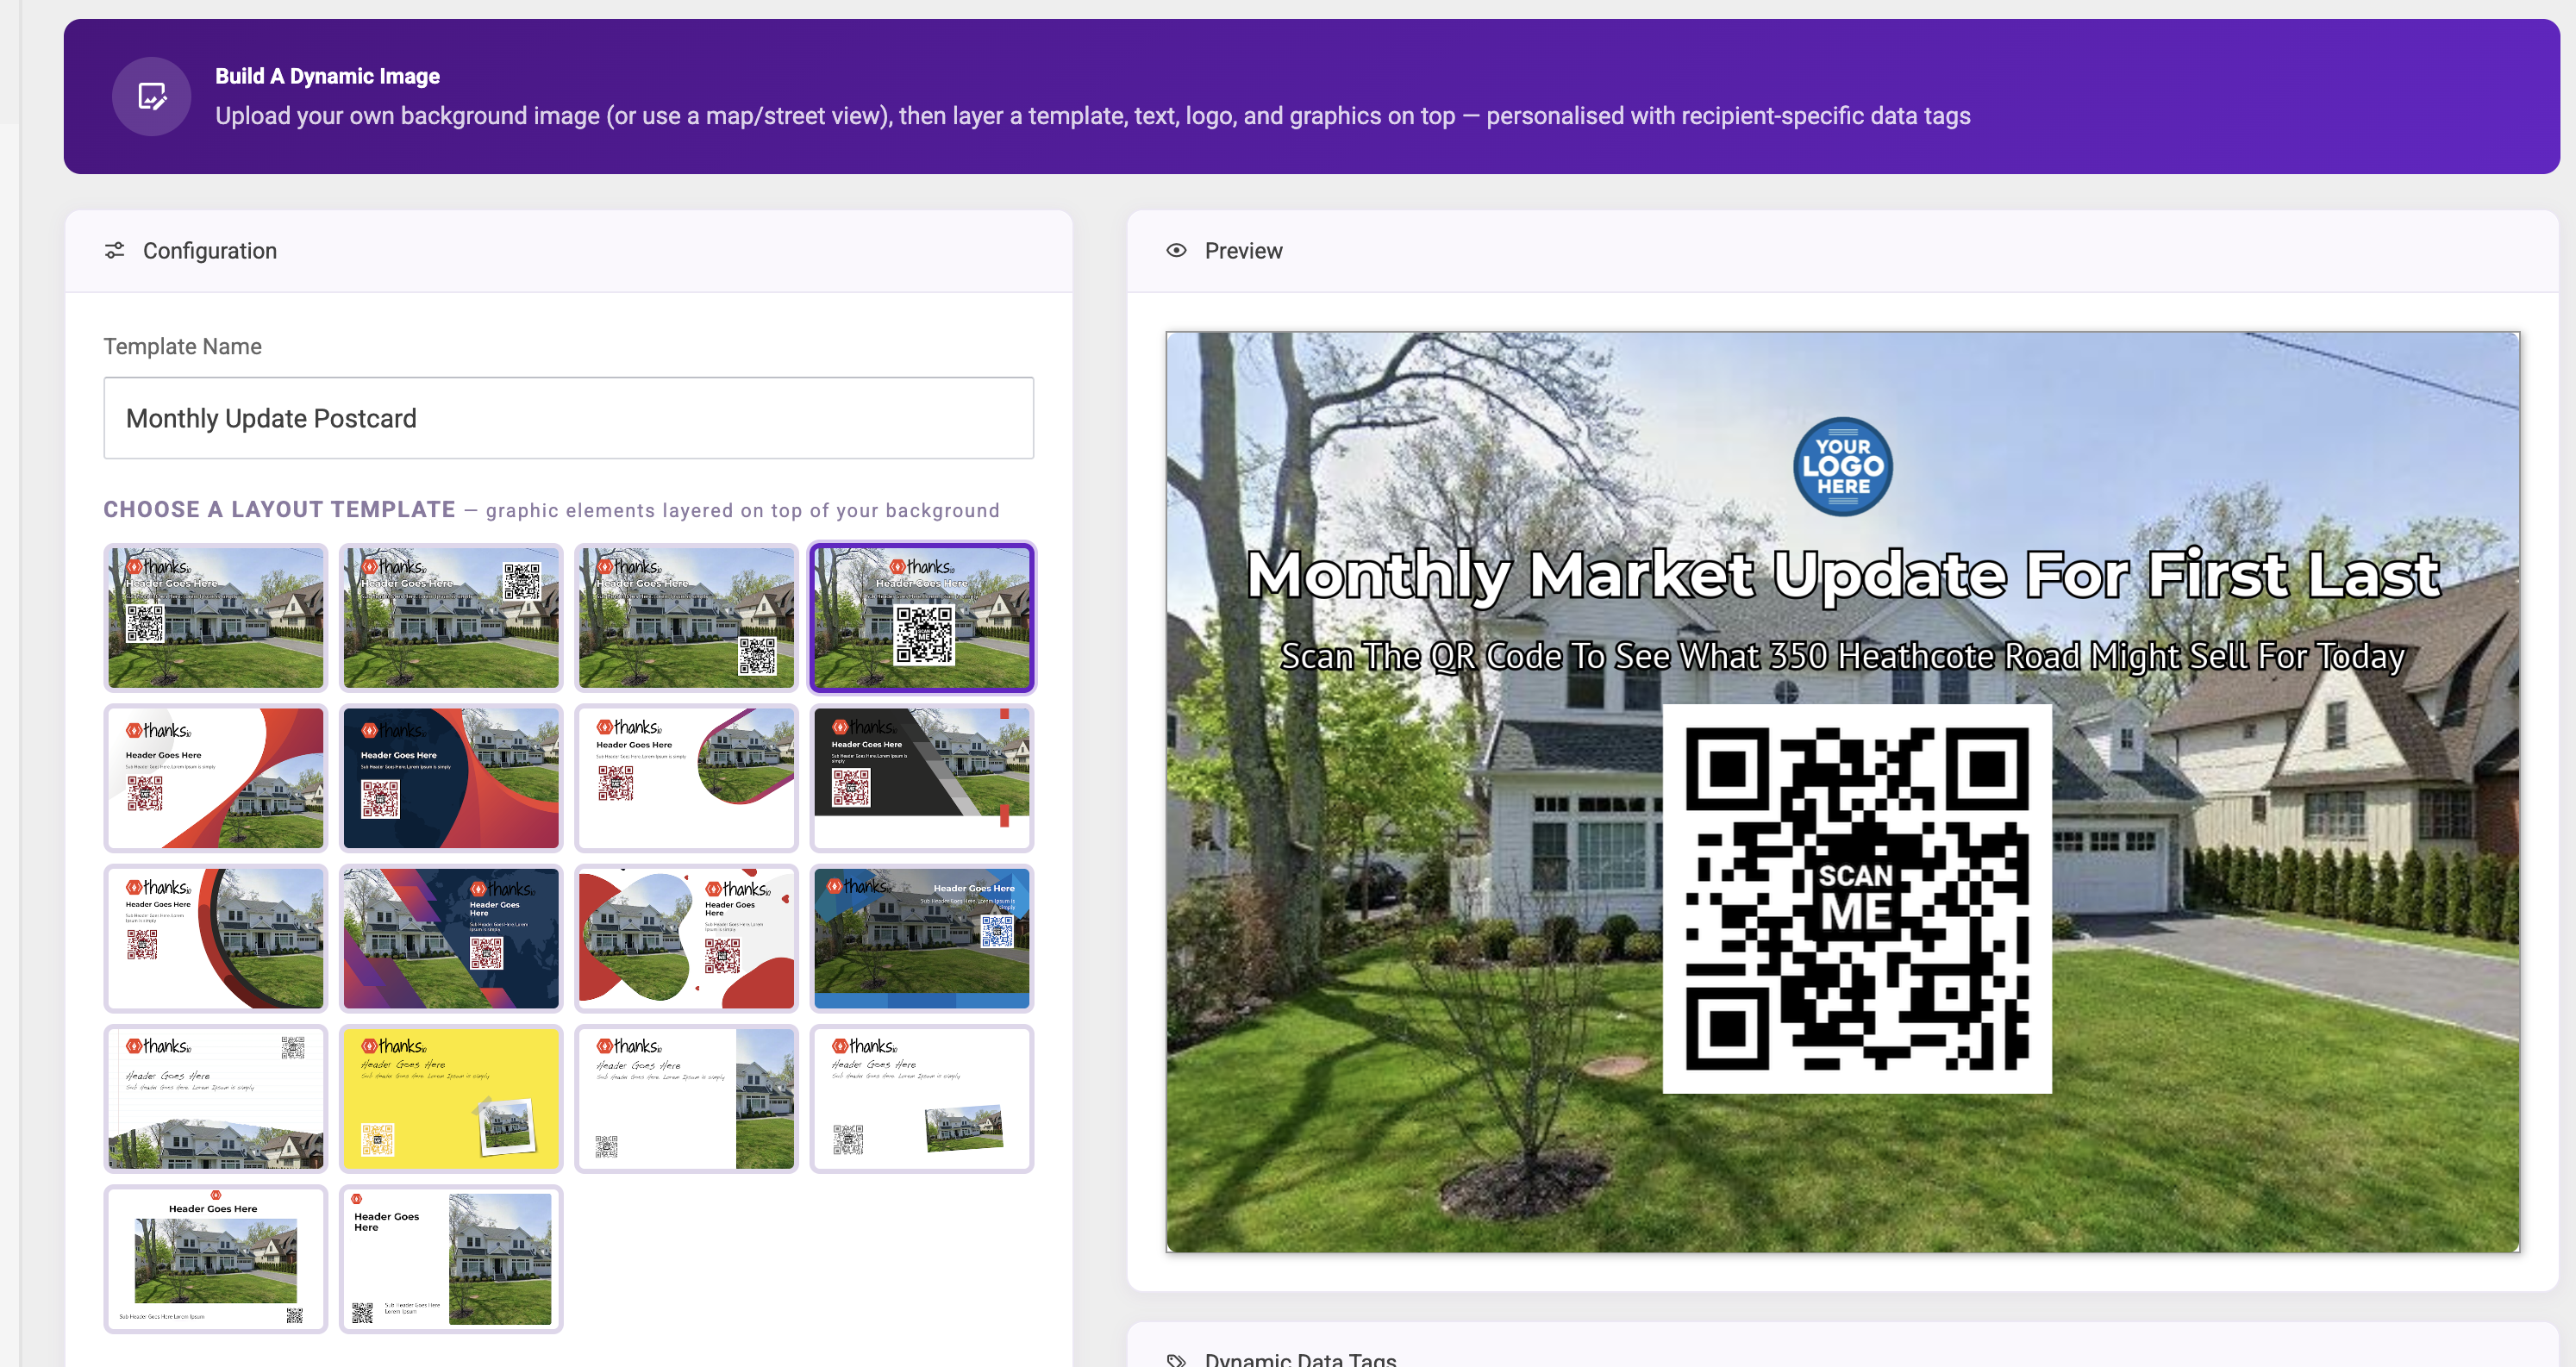
By default, the QR code is placed on the back of most mailers. If you want the QR code to appear on the front of a card — for example, on a real estate "just listed" postcard linking directly to the property website - use a Dynamic Image.
Dynamic Images let you generate a QR code image on the fly from a per-recipient URL and embed it anywhere in your card design, including the front.
Steps:
- In your card design, add a Dynamic Image element in the location where you want the QR code to appear.
- Set the Dynamic Image source to generate a QR code from the property URL (e.g., the listing page on your website).
- To make it per-recipient, use a replacement variable such as
~CUSTOM_FIELD_1~in the URL so each card links to the correct listing. - Save and preview the design - the QR code will render on the front of each printed card.
For just-listed campaigns, set the Dynamic Image URL to the individual property listing page. Prospects who scan the QR code on the front of the card are taken directly to the property website, no need to flip to the back.
Limits & gotchas
- QR configuration is per-template. If the same template is used across multiple campaigns, they all share the same QR destination URL.
- The QR code on each piece is unique to that recipient even when the base URL is the same - thanks.io appends tracking parameters automatically.